This is by far the post I am the most excited about! I’ve been thinking and planning to write this little piece since before the shop and blog ever existed! So let’s dive straight into it!
In this blog entry I am going to talk a little bit about how I pack and prepare the orders for shipping.
1. Environmentally friendly packaging
First of all, all orders are being shipped in solid cardboard boxes. I care about the environment, so I’m trying to be as environmentally friendly as I can. I guess it would even be somewhat ridiculous if I would be selling 100% natural decorations wrapped in a mountain of plastic, wouldn’t it? So, my approach to being environmentally friendly and conscious is to focus on using either paper-based wrapping supplies OR to recycle wrappers that I, myself, got at some point with other orders that I’ve made online. I have a dedicated space in my deposit room where I like to stack up on the good wrappers that I’m getting with my personal online orders.
Sometimes, the goods inside the package will be wrapped in plastic air-packs or bubble wrapping and as long as they are re-usable, I will keep those as well. With that said, it is possible that some of my orders will be wrapped in plastic, especially if the ordered decoration is way too small for the box it’s going to be shipped in; then, it’s safer and easier to fill the leftover space with some soft bubble wrapping or air-packs. But it is very important to me to stress out the fact, that I, myself, am not actively and/or purposely buying any plastic packaging in order to get my My Woolen Friends decorations shipped. When possible and practical, I do prefer to use paper for the packaging, but sometimes it’s just safer to use use some of the plastic wrappers. But even then, I am going to re-use wrapping that I, myself, already received with previous packages.
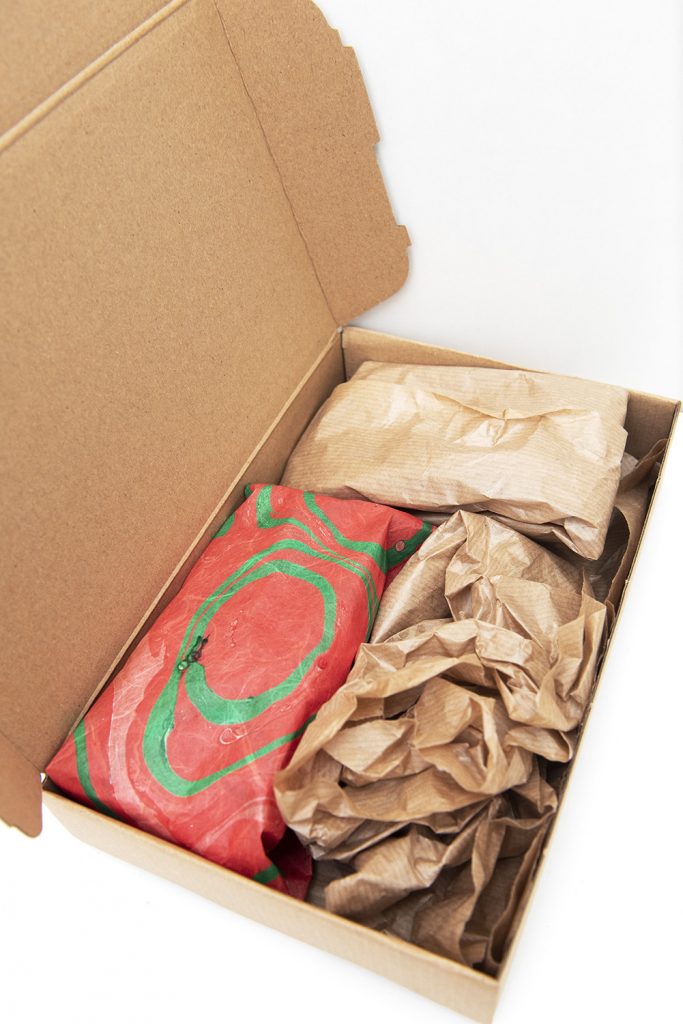
Paper packaging 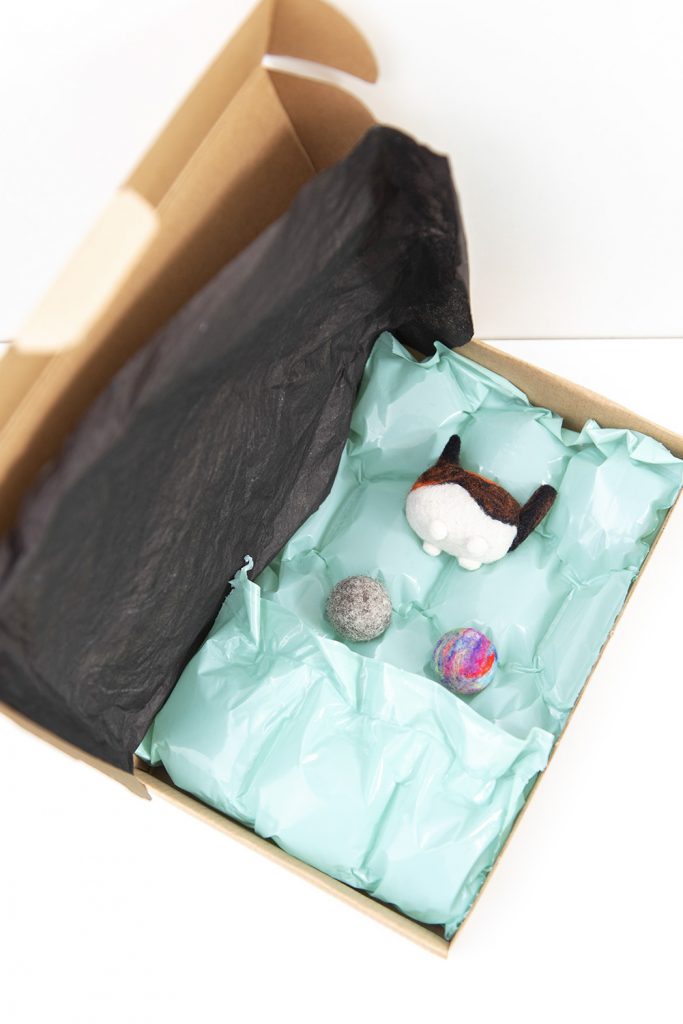
Packaging with air cushion
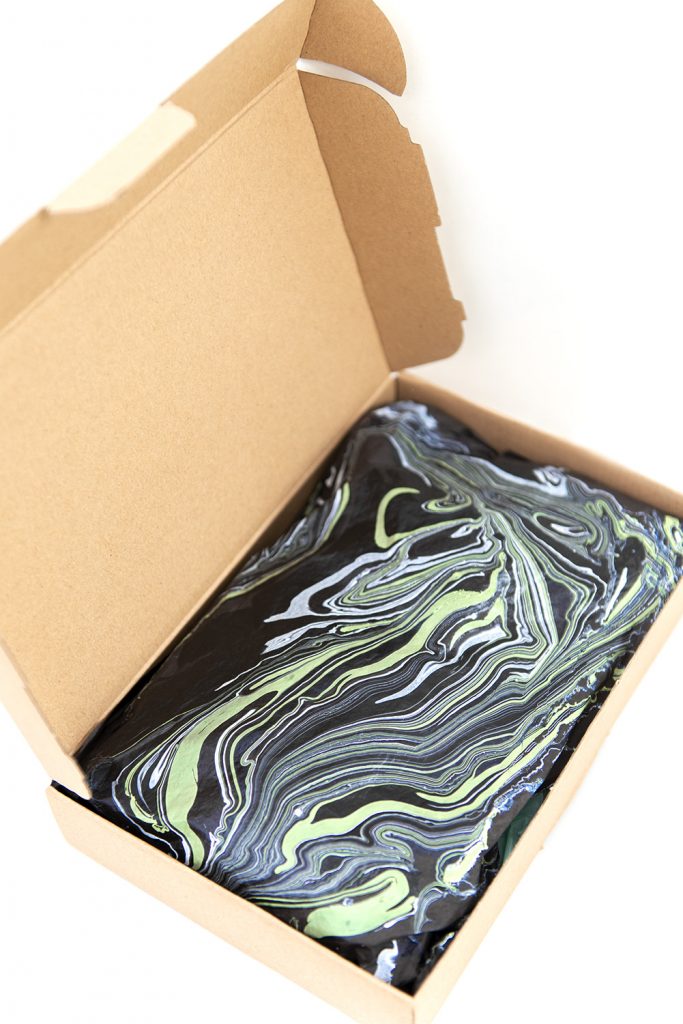
2. Recycled and hand-made gift wrapping paper
Any purchased item can be wrapped in a gift wrapping paper. This paper is, again, good quality paper that I have previously received with other packages. So, instead of throwing it in the trash, I transform it into original, beautifully coloured gift paper through the process of paper marbling. You can see in the photo below the approximate process of how I’m doing this paper. Once it’s done, I’ll let it dry for a couple of days and then it’s ready to be used! 🙂 I think that’s a really nice and creative way of turning something average into something special. You can see in the photos below a very brief description of the paper marbling process.
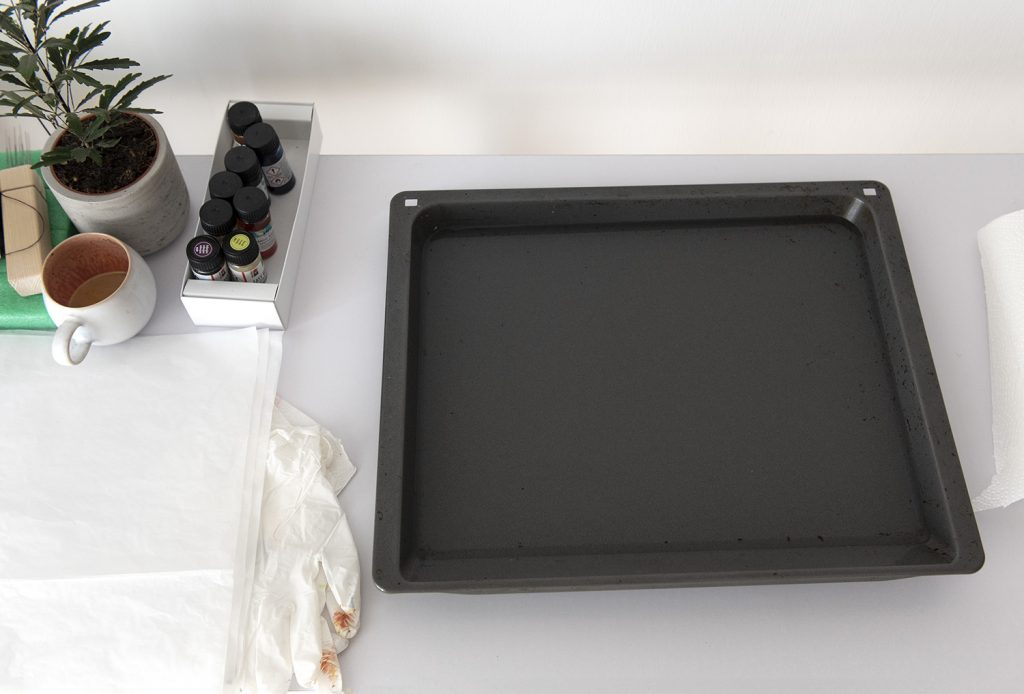
Step 1. preparing a tray filled with water and the paints 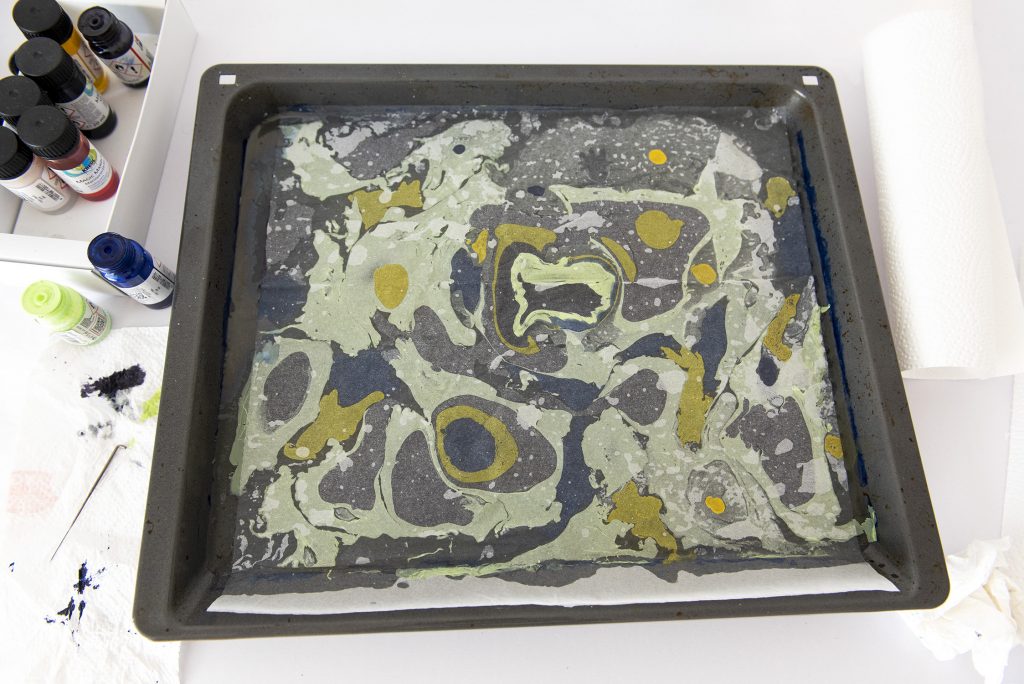
Step 2. Drop paint onto the water surface and create your design. Once finished, apply carefully the paper on water’s surface and remove by lifting carefully. 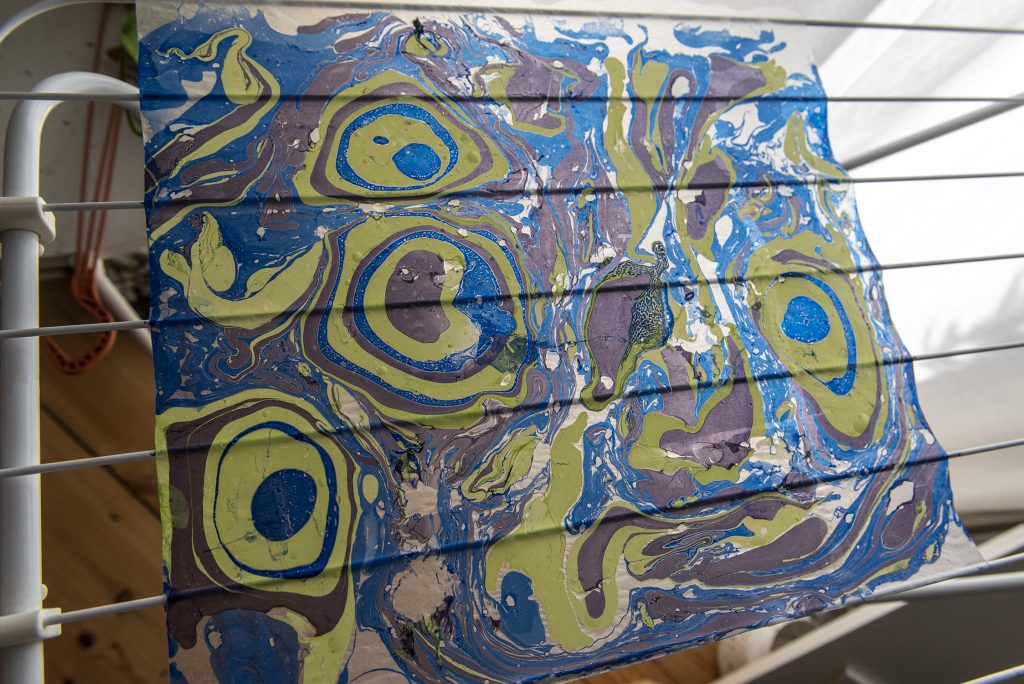
Step 3. Let the paper dry for about a day (just to be on the safe side). 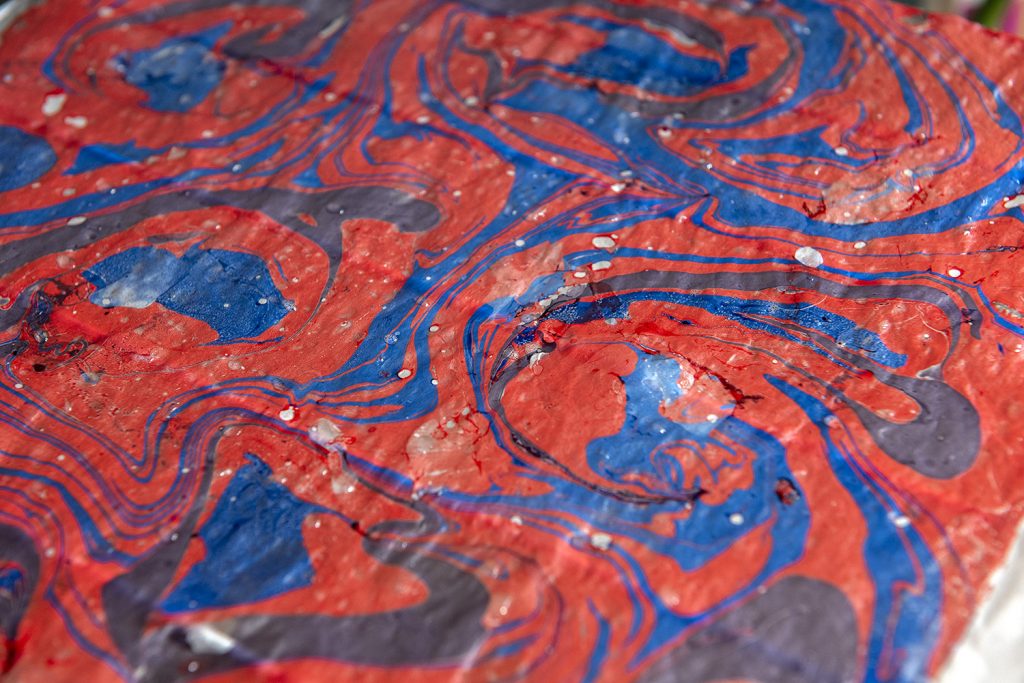
Design Example 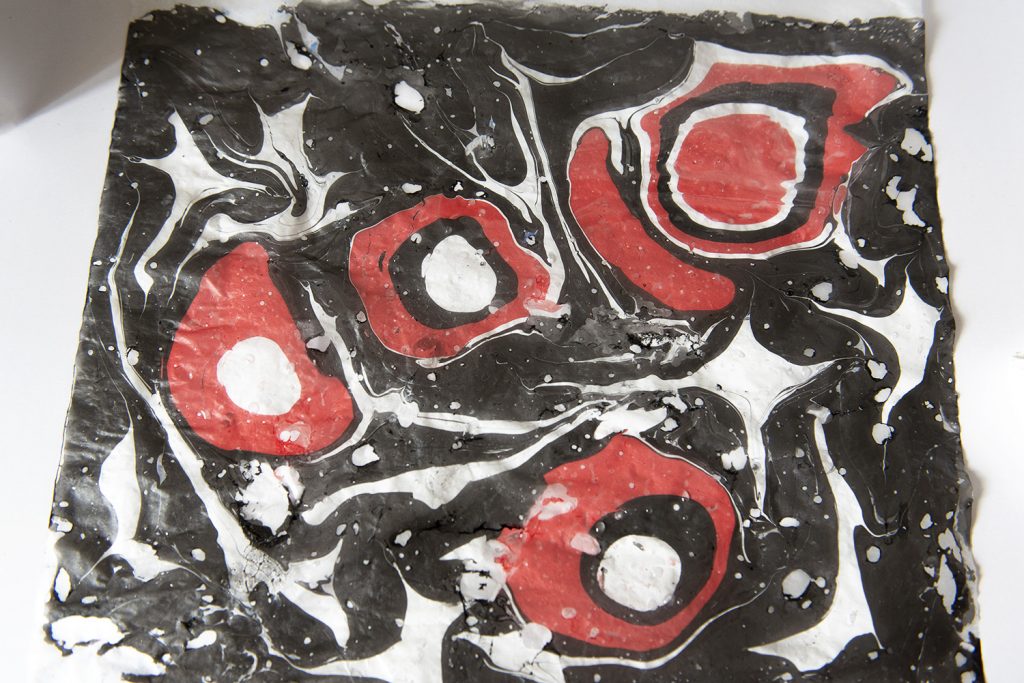
Design example 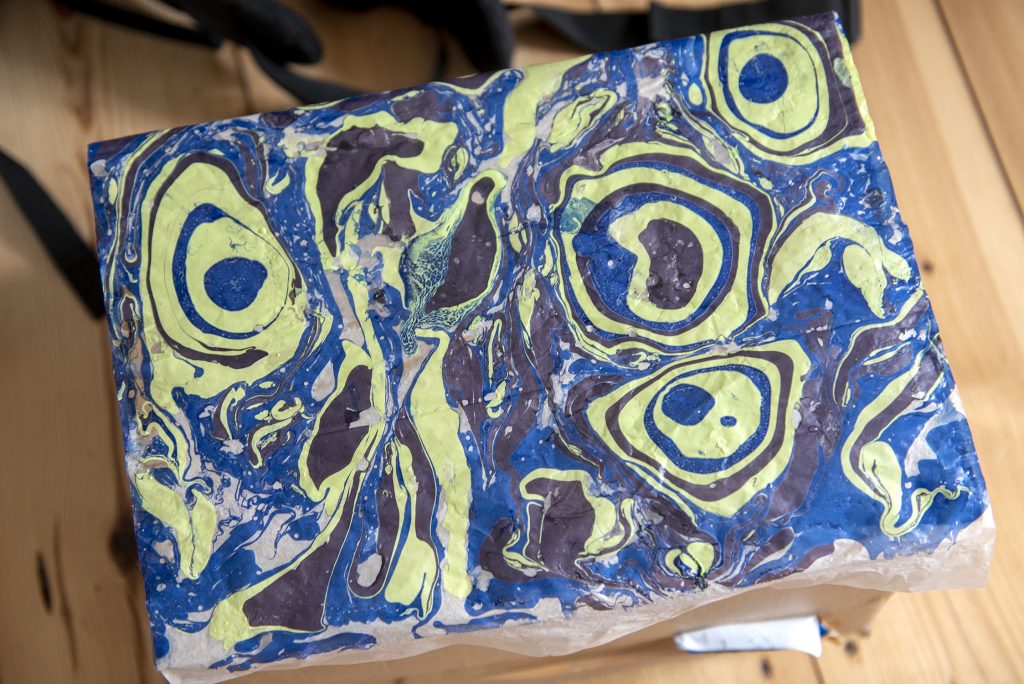
Design example 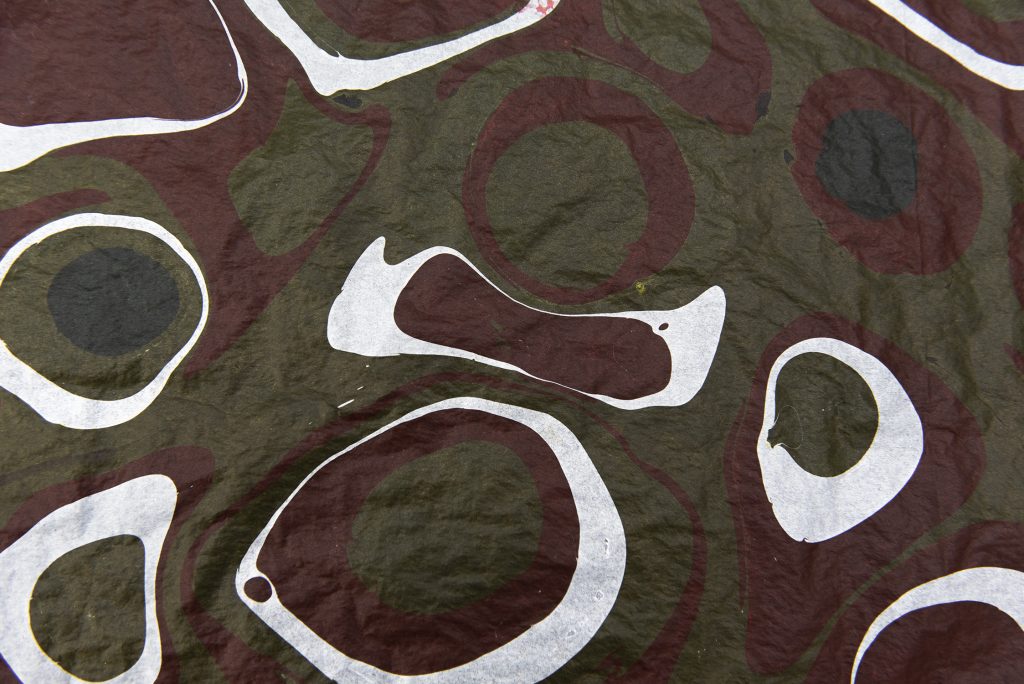
Design example 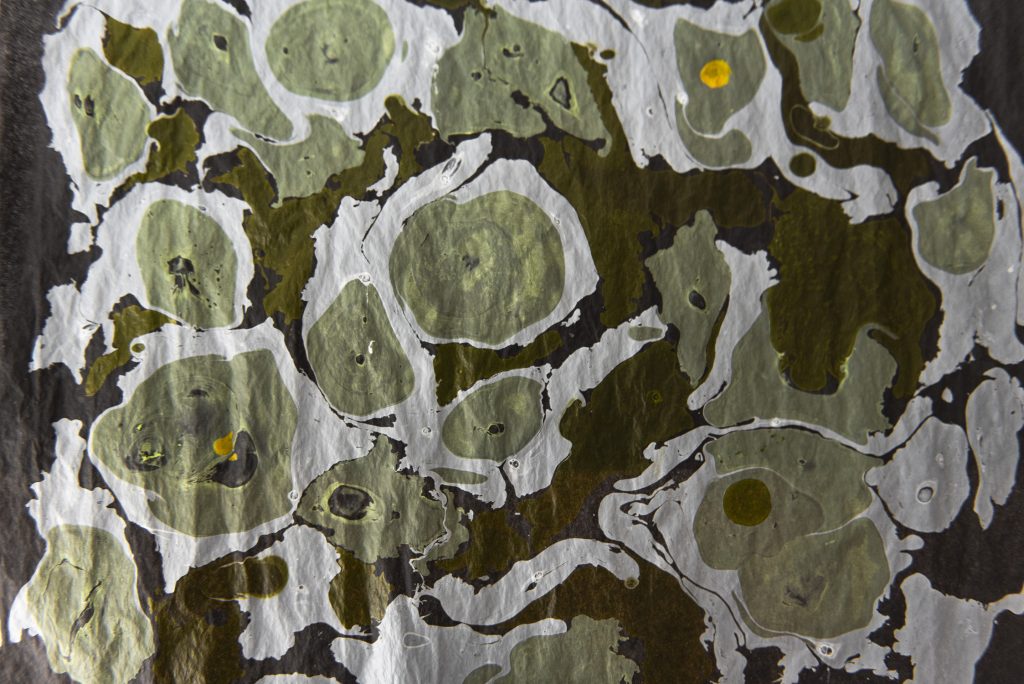
Design example 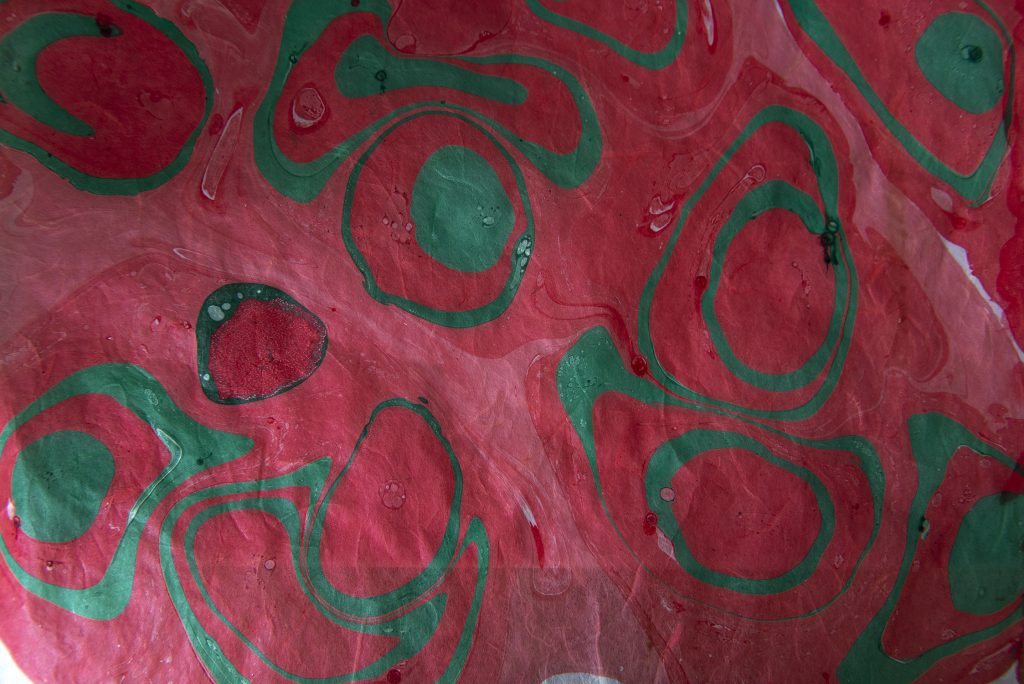
Design example 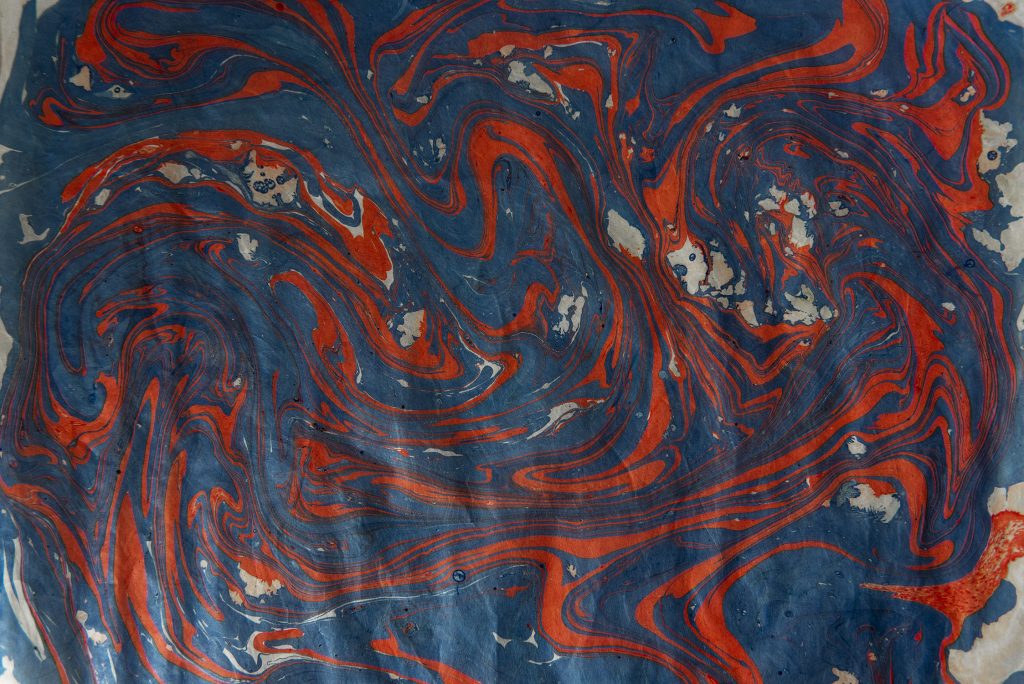
Design example 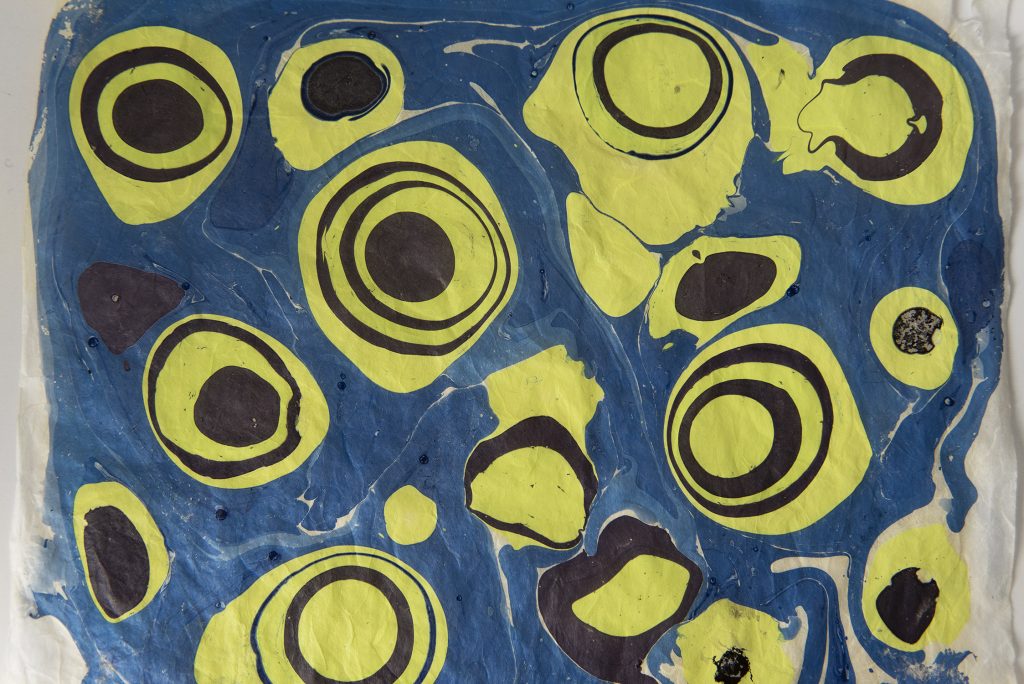
Design example 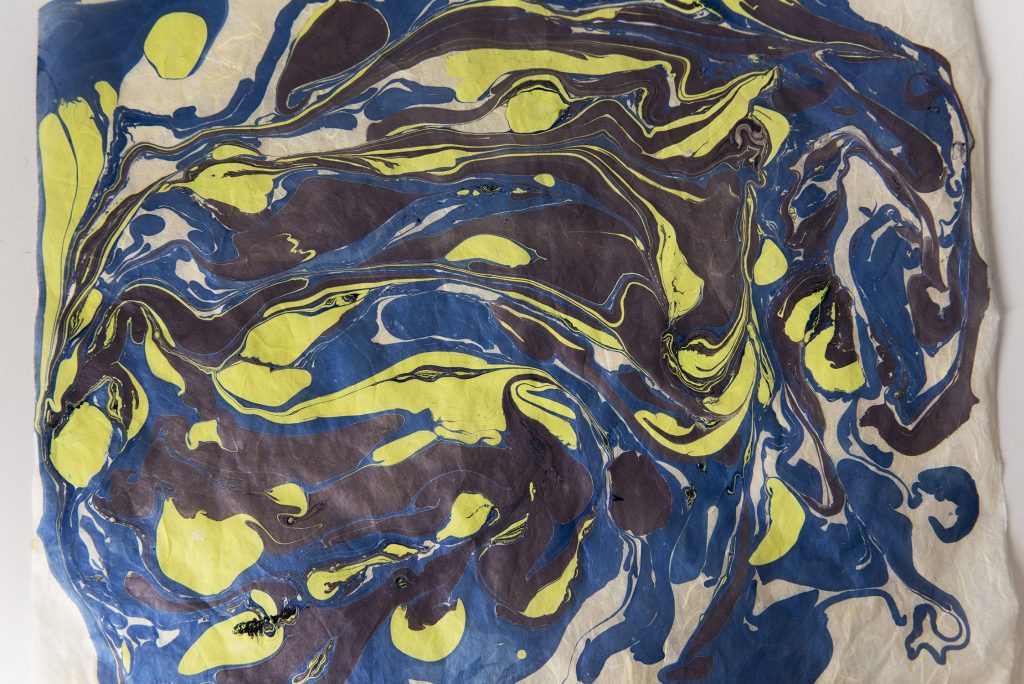
Design example
P.S.: At the moment, I am wrapping every order in gift wrapping paper as a “thank you” for those who are placing the first orders through the online shop. However, this applies only to a limited number of orders.
I try to keep my posts short, so I hope you managed to get an idea of how I think in terms of packaging and shipping and that you enjoyed reading about it.
As always, thank you for being here and please feel free to roam around the web page & shop!
My Woolen Friends